How to Apply Switch Board Stickers Make Your Home Stylish Easily
Introduction:
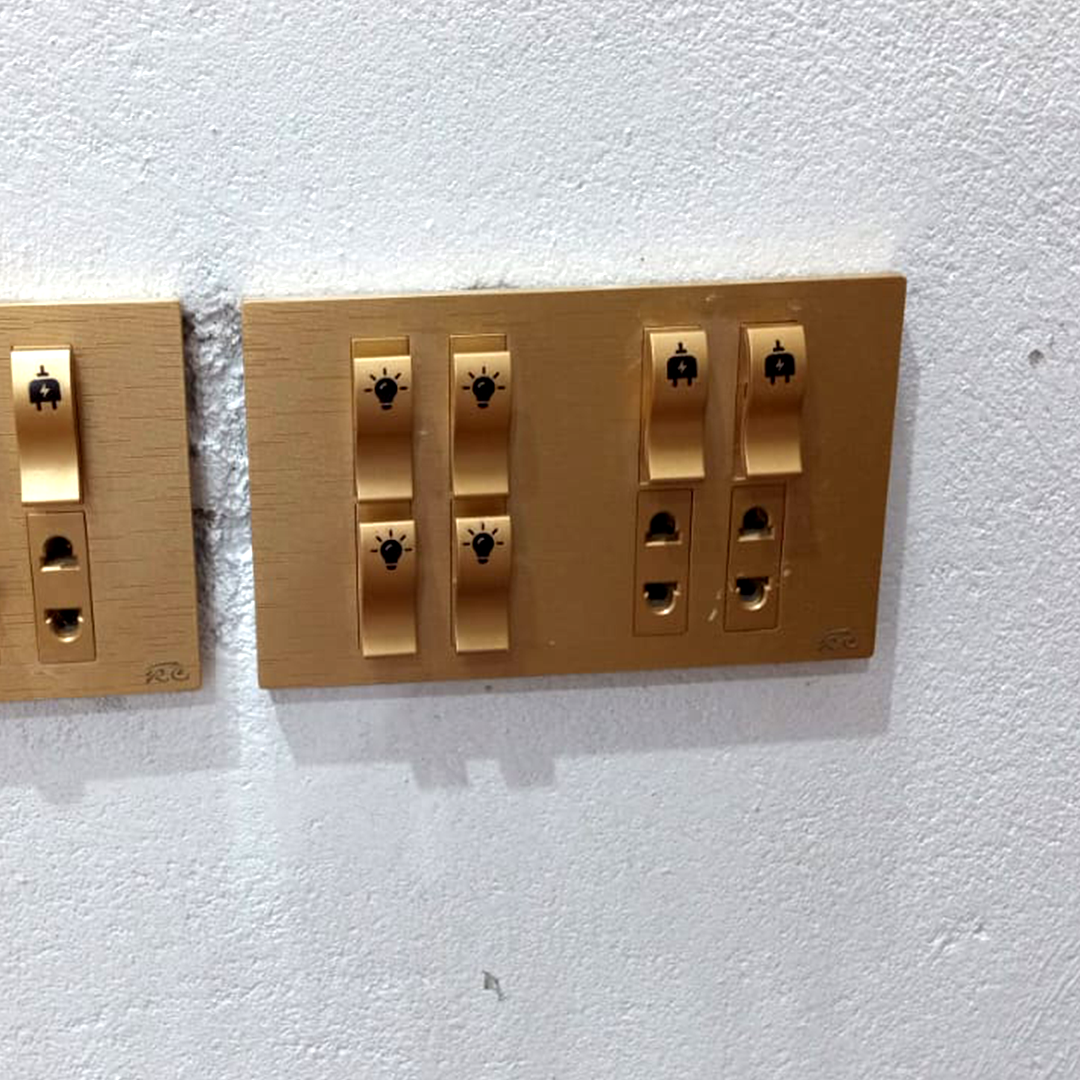
Do you want to make your home look more stylish without spending a lot of money?
Most homes have simple and boring switch boards that don’t match the overall decor.
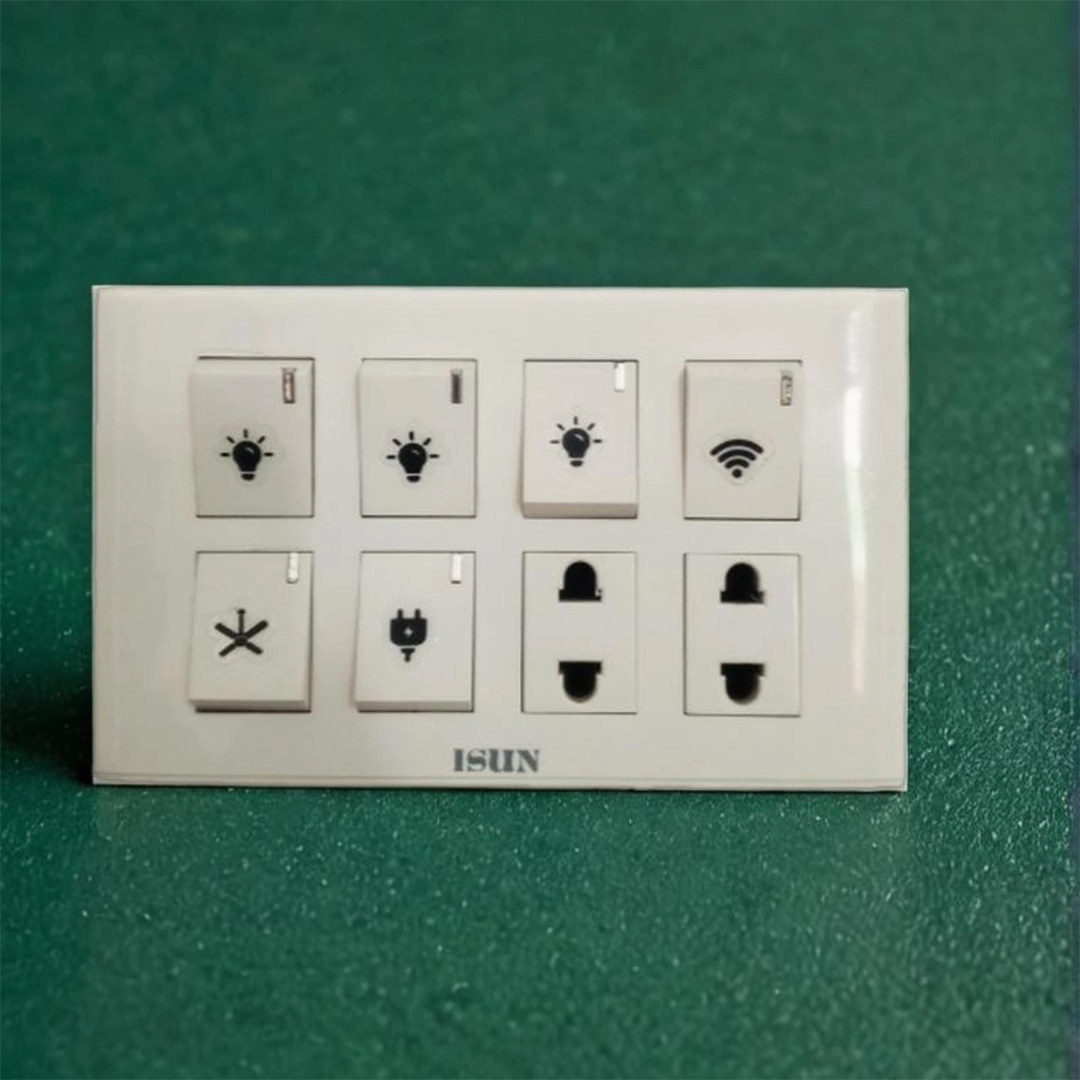
Switch board stickers are an easy and affordable solution to upgrade the look of your switches within minutes.
In this blog, we will guide you step by step on how to apply switch board stickers perfectly.
Step-by-Step Guide:
- Clean the switch board using a dry cloth before applying the sticker, as dust or oil can prevent it from sticking properly.
- Turn off the electricity for safety, and make sure the main power is switched off before you begin.
- Set the position by placing the sticker on the switch board first to check proper alignment.
- Apply the sticker slowly, starting from the top and moving downward to avoid damage or misalignment.
- Remove air bubbles by using a card or soft cloth and gently pressing from the center outward.
Useful Tips:
- Do not apply the sticker on wet or dirty surfaces.
- Apply slowly for the best results.
- If misaligned, gently remove and reapply.
Common Mistakes:
- Applying without turning off electricity.
- Applying on dirty surfaces.
- Rushing the process.
- Ignoring proper alignment.
Our Recommendation:
- For long-lasting and stylish results, always use high-quality switch board stickers.
- Visit Kharedly.com to explore premium designs at affordable prices and give your home a modern touch.
Conclusion:
- Applying switch board stickers is quick, easy, and effective.
- It instantly enhances the look of your home.
Follow these simple steps and transform your boring switch boards into something beautiful today